

第一步:刷写官方树莓派系统
需要准备的工作
- 下载并安装Raspberry Pi Imager刷写软件(Windows版本下载 | Mac版本下载)
- 准备一张不低于8GB的TF卡
- TF卡读卡器
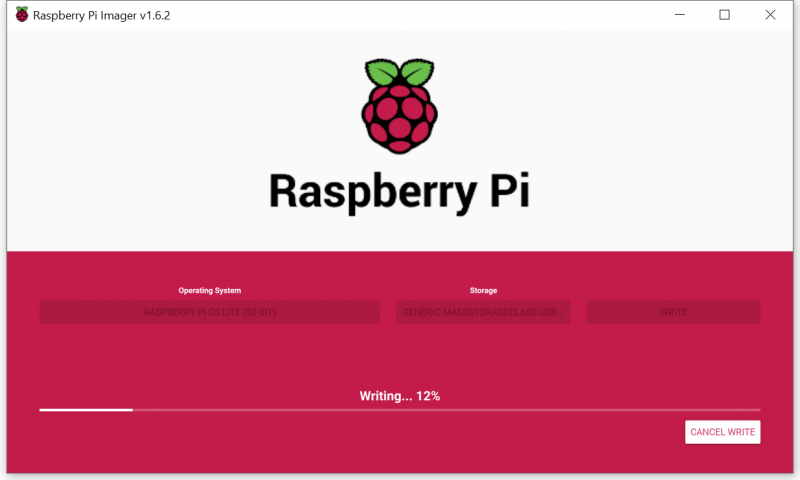
▼ 系统镜像写入TF卡:打开Raspberry Pi Imager软件,在Operating System系统镜像CHOOSE OS->Raspberry Pi OS(other)->RASPBERRY PI OS LITE(32BIT),因为咱们玩的不需要桌面系统和软件,所以选个最干净的系统,插上TF卡(建议8GB以上),点WRITE开始自动下载镜像并刷写,完成后TF卡自动弹出系统
▼ 开启SSH:将刷写好系统的TF卡读卡器,重新插拔一次,文件管理器里找到boot盘符进入,在根目录下右键->新建->新建文本文件,然后将文件名改为ssh(注意:没有.txt的扩展名),完成后,弹出TF卡读卡器

第二步:初始化树莓派,设置WIFI
准备工作:
- 将第一步准备好的TF卡,插入树莓派;
- 将树莓派网线,插入家里路由器上(先通过有线网络,连上树莓派后,再配置WIFI无线网络)
- 打开树莓派电源
- 下载并安装SSH工具(Windows下比如Xshell/Putty | Mac用系统自带的Terminal即可)
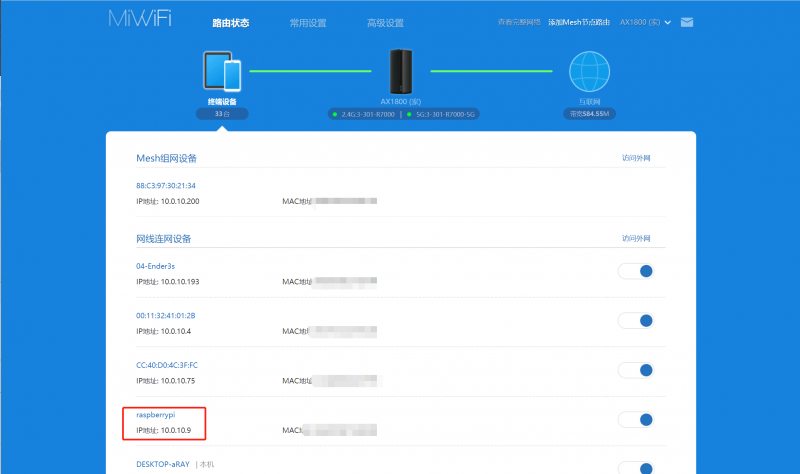
▼ 找到树莓派的IP地址:一般直接在家里路由器的管理界面,就能找到树莓派设备,比如下图中10.0.10.9
▼ 打开SSH工具(Putty/Xshel等),输入下面命令登录树莓派,IP地址替换为你的实际地址(比如我的是10.0.10.9),默认密码raspberry
ssh pi@10.0.10.9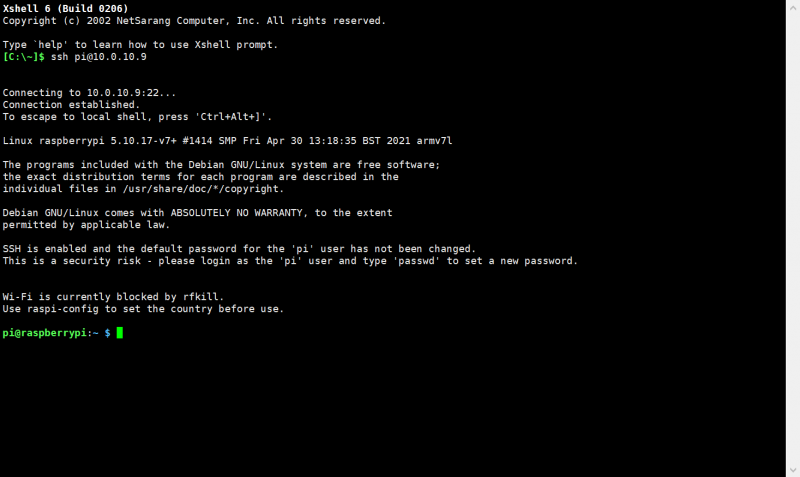
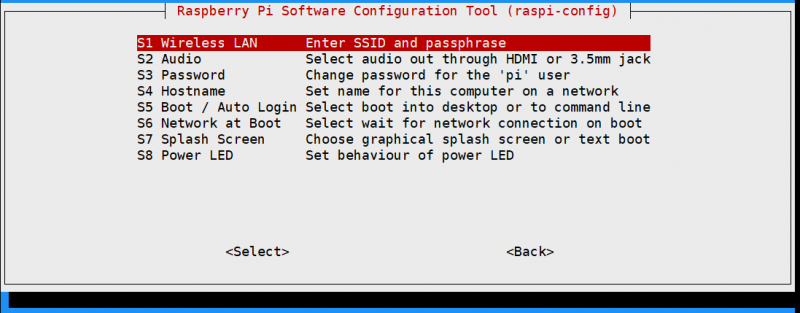
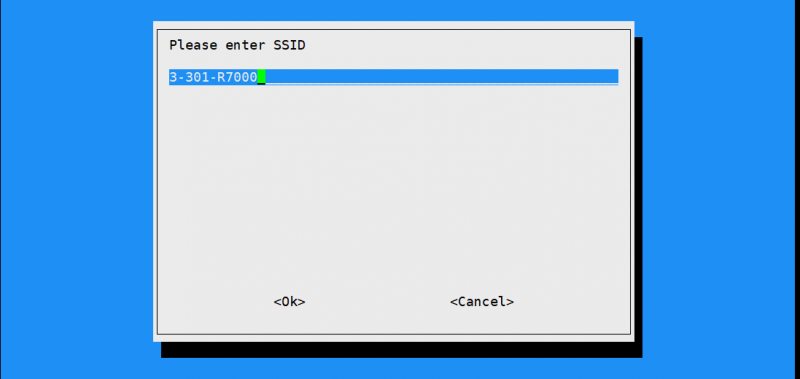
▼ 设置树莓派WIFI:输入下面命令sudo raspi-config,进入设置界面,进入System Options -> Wireless LAN,首次配置提示选择国家CN-China,接下来输入WIFI账号和密码即可,按TAB键选择Finish保存退出完成WIFI配置
sudo raspi-config
第三步:安装创想云服务,配置打印机
准备工作
- 将打印机主板的USB数据线,插入树莓派;
- 将摄像头数据线,插入树莓派(如果没有摄像头,这步可跳过);
▼ 安装git工具:默认raspberry系统未自带
sudo apt install git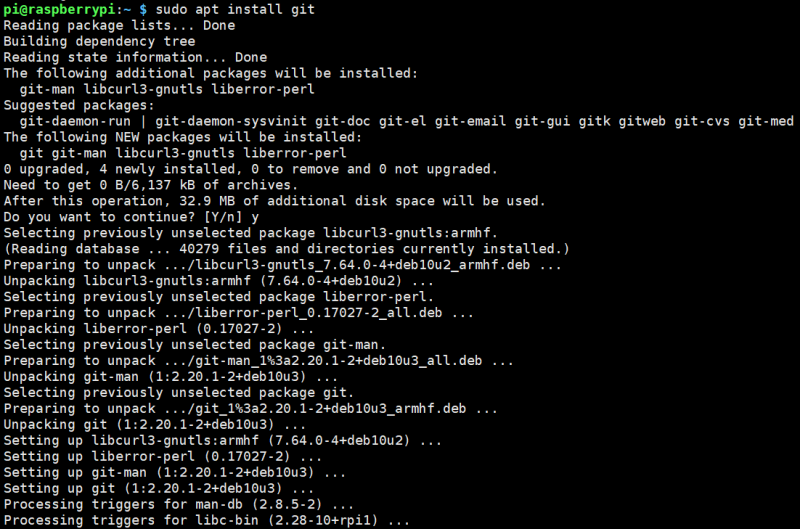
▼ 下载创想云服务安装包
git clone https://github.com/crealitycloud/Creality-Cloud-RaspberryPi3.git
▼ 安装创想云服务,这里需要耐心等待下,需要一段时间
cd Creality-Cloud-RaspberryPi3/creality_raspberry
sudo ./creality_install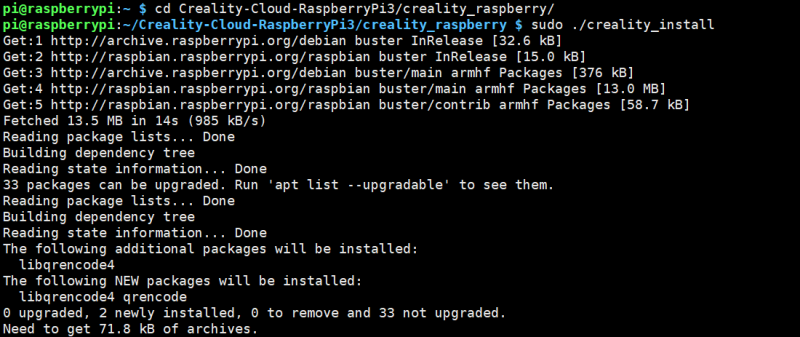
▼ 创想云服务安装成功之后,自动进入设置引导,如果没有摄像头,输入Y跳过,如果数据线连上打印机主板成功,就会显示以下二维码
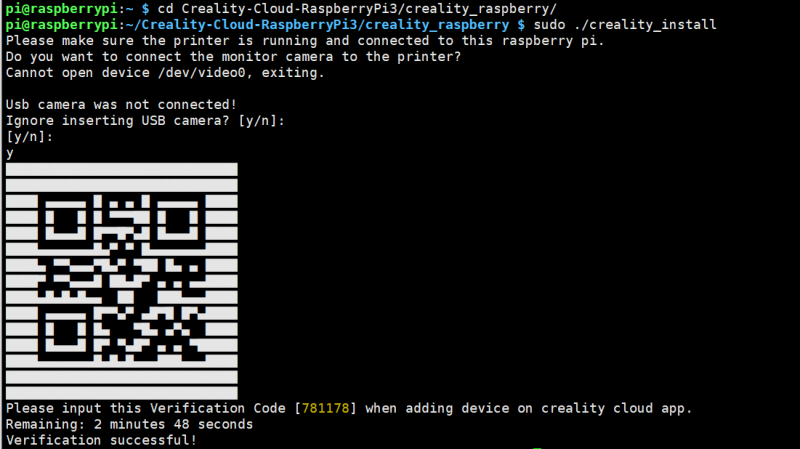
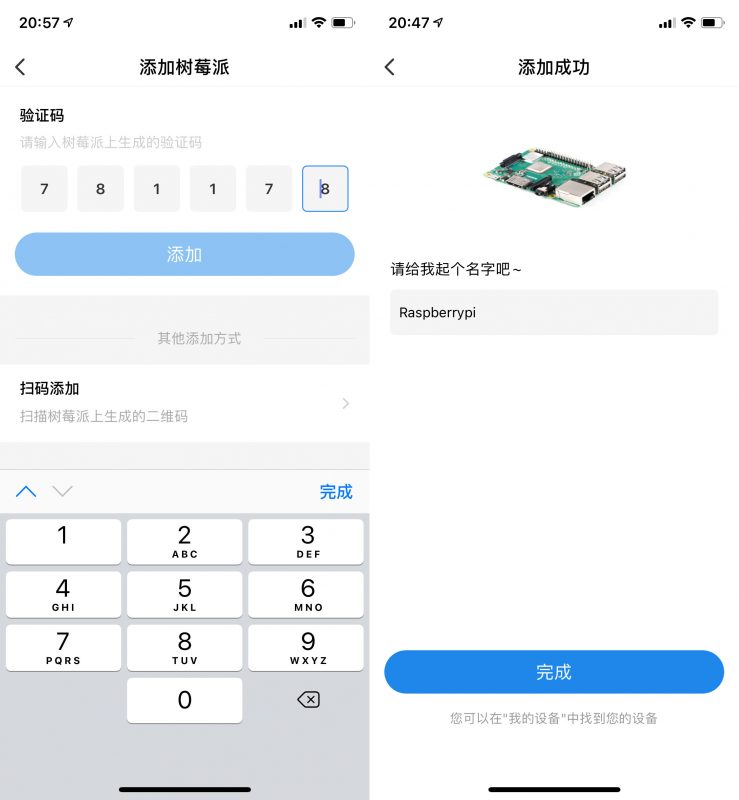
▼ 创想云绑定设备:打开创想云App->趣打印->右上角+添加->树莓派,输入验证码(上图781178)或者扫二维码,完成设备添加
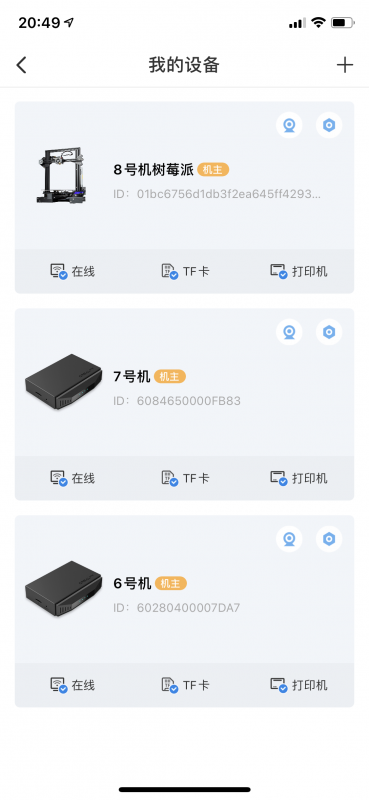
▼ 至此,就完成设备添加和设置了
常见问题
有问题,请留言


评论抢沙发